
Digital Painting
How I made the Art for The Greatest Adventure!
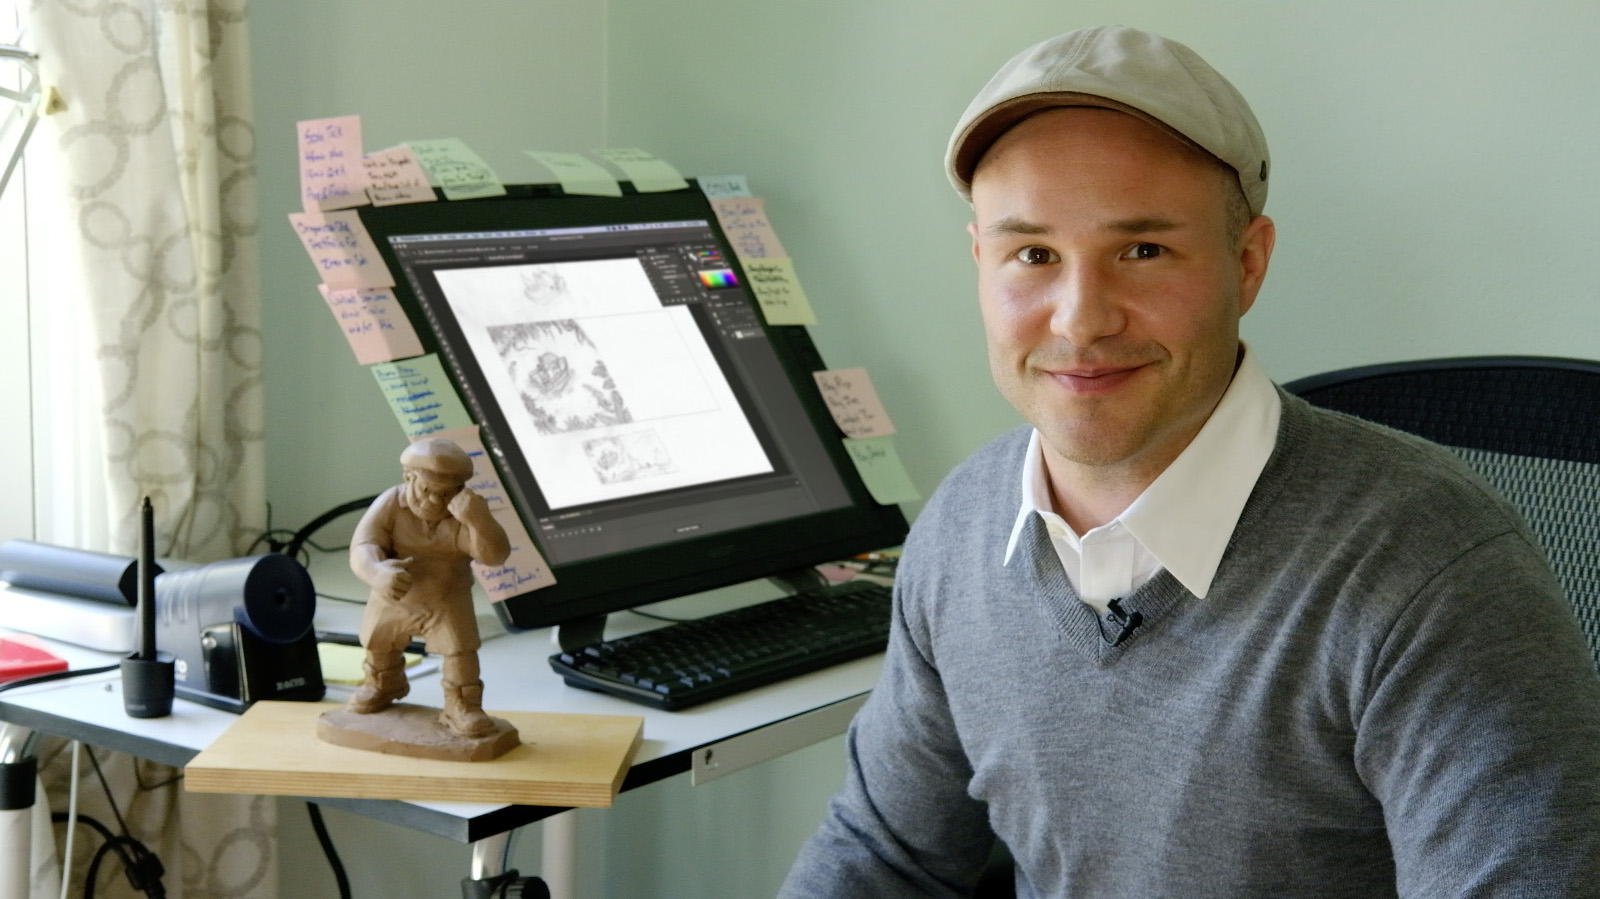
I'm often asked how I create my illustrations. In this post I will share with you my process for creating the artwork for my debut picture book, The Greatest Adventure. I won’t go in to great detail on each step in the process, instead, my goal is to impart on you a basic understanding of what it means to create a digital painting. And hopefully, you will also come to see the depth of thought and care that went into the creation of every single illustration for The Greatest Adventure!
Materials:
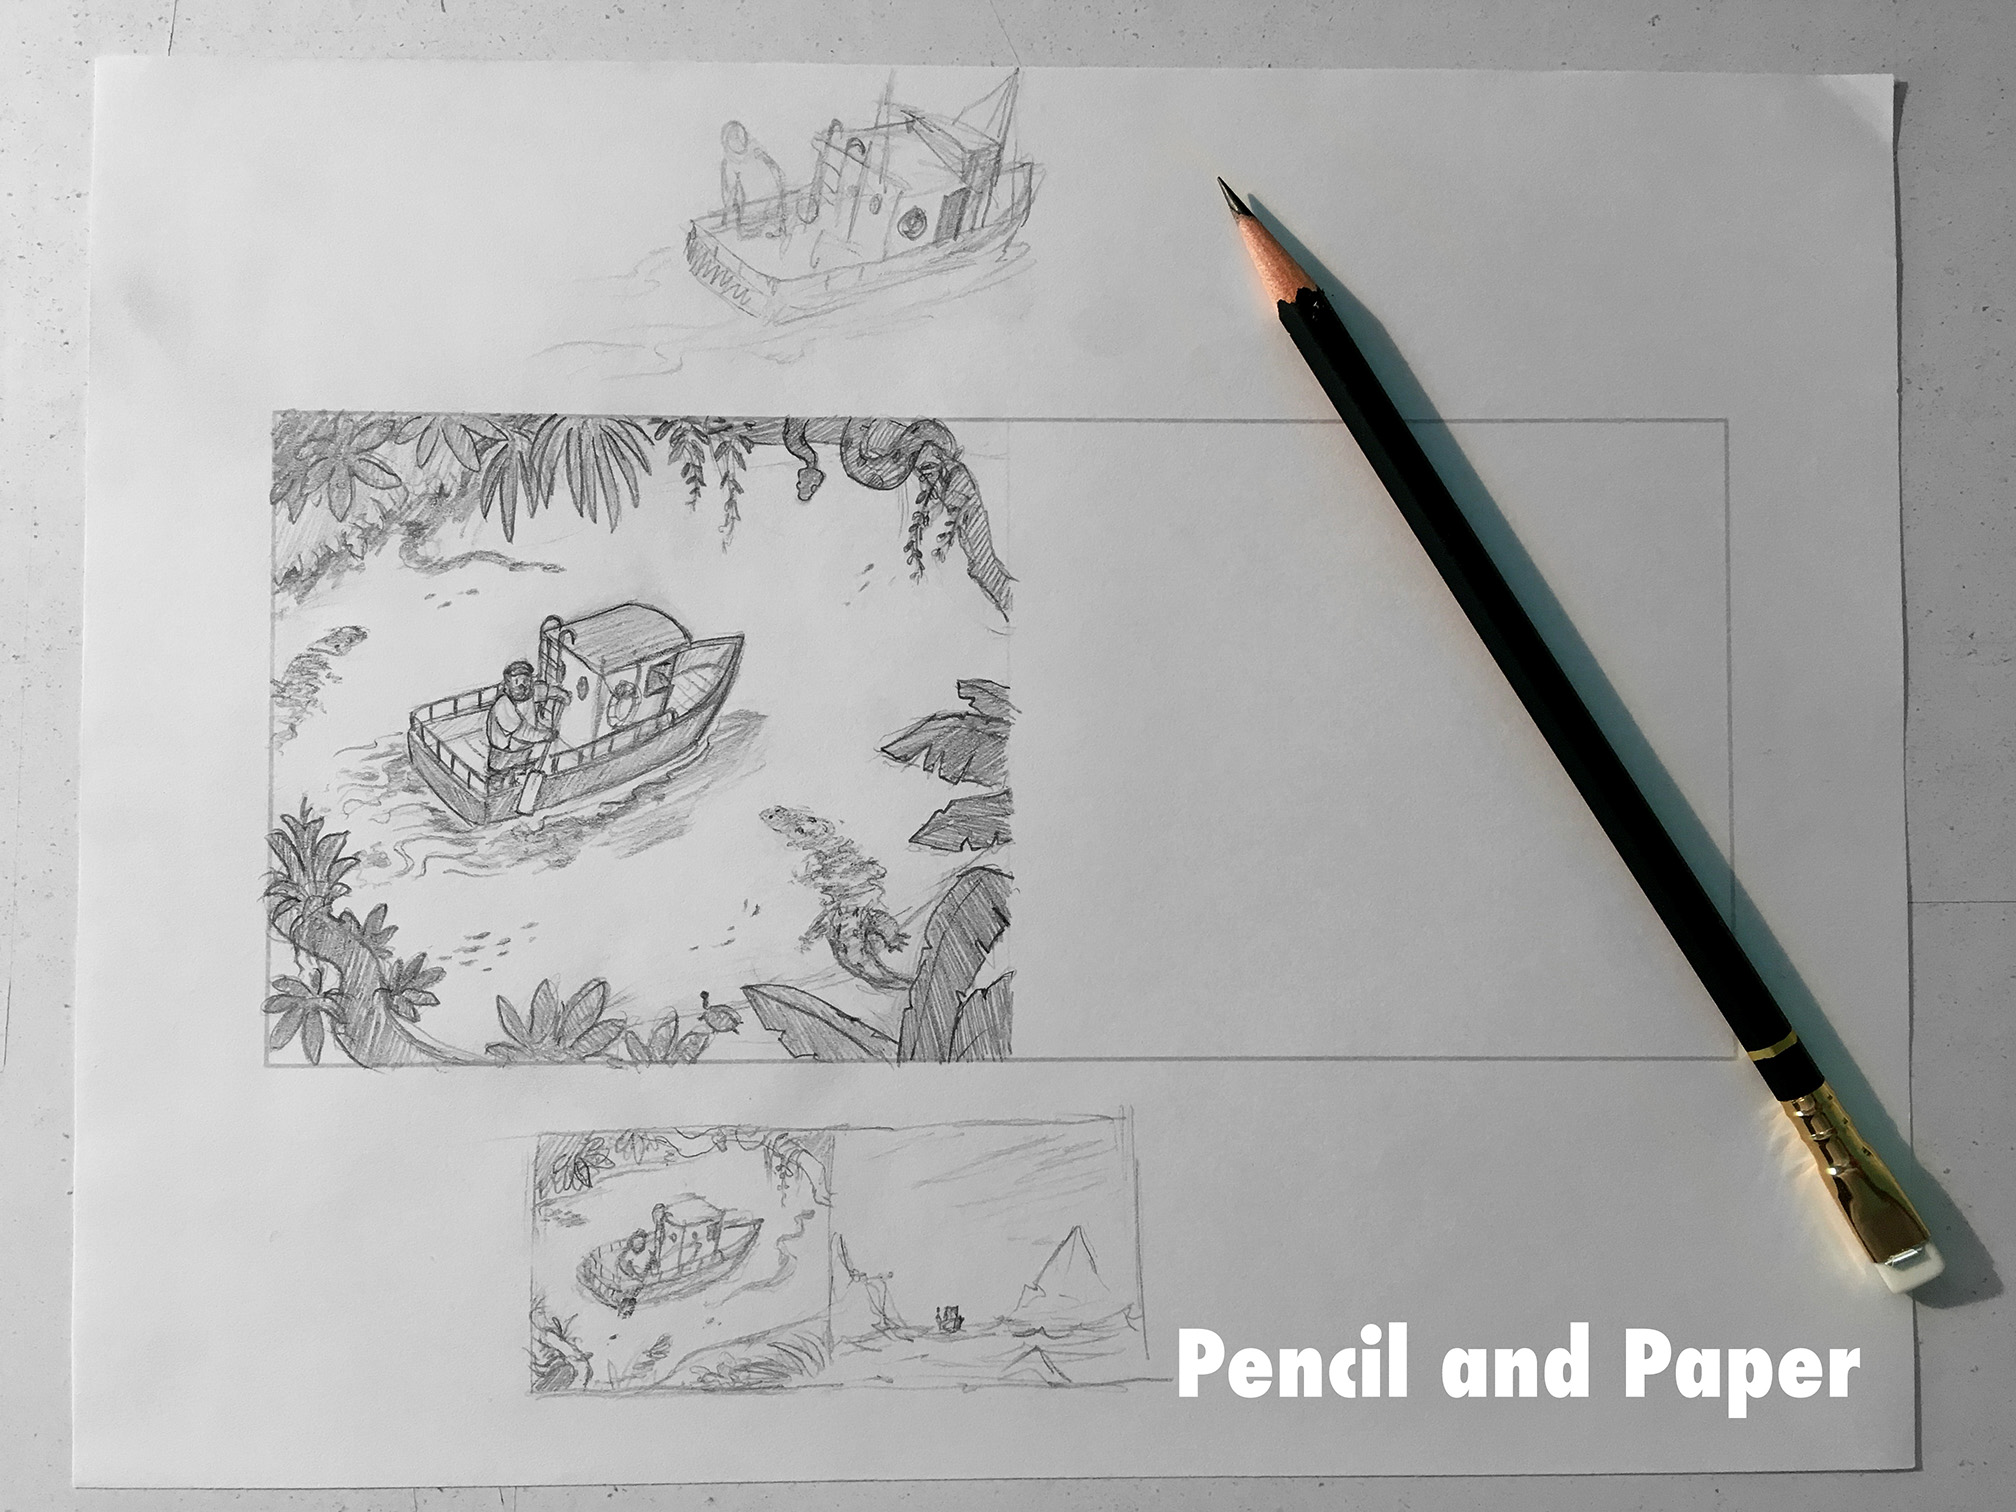
Pencil and paper (the drawing is the foundation; you cannot create a compelling illustration without this step)
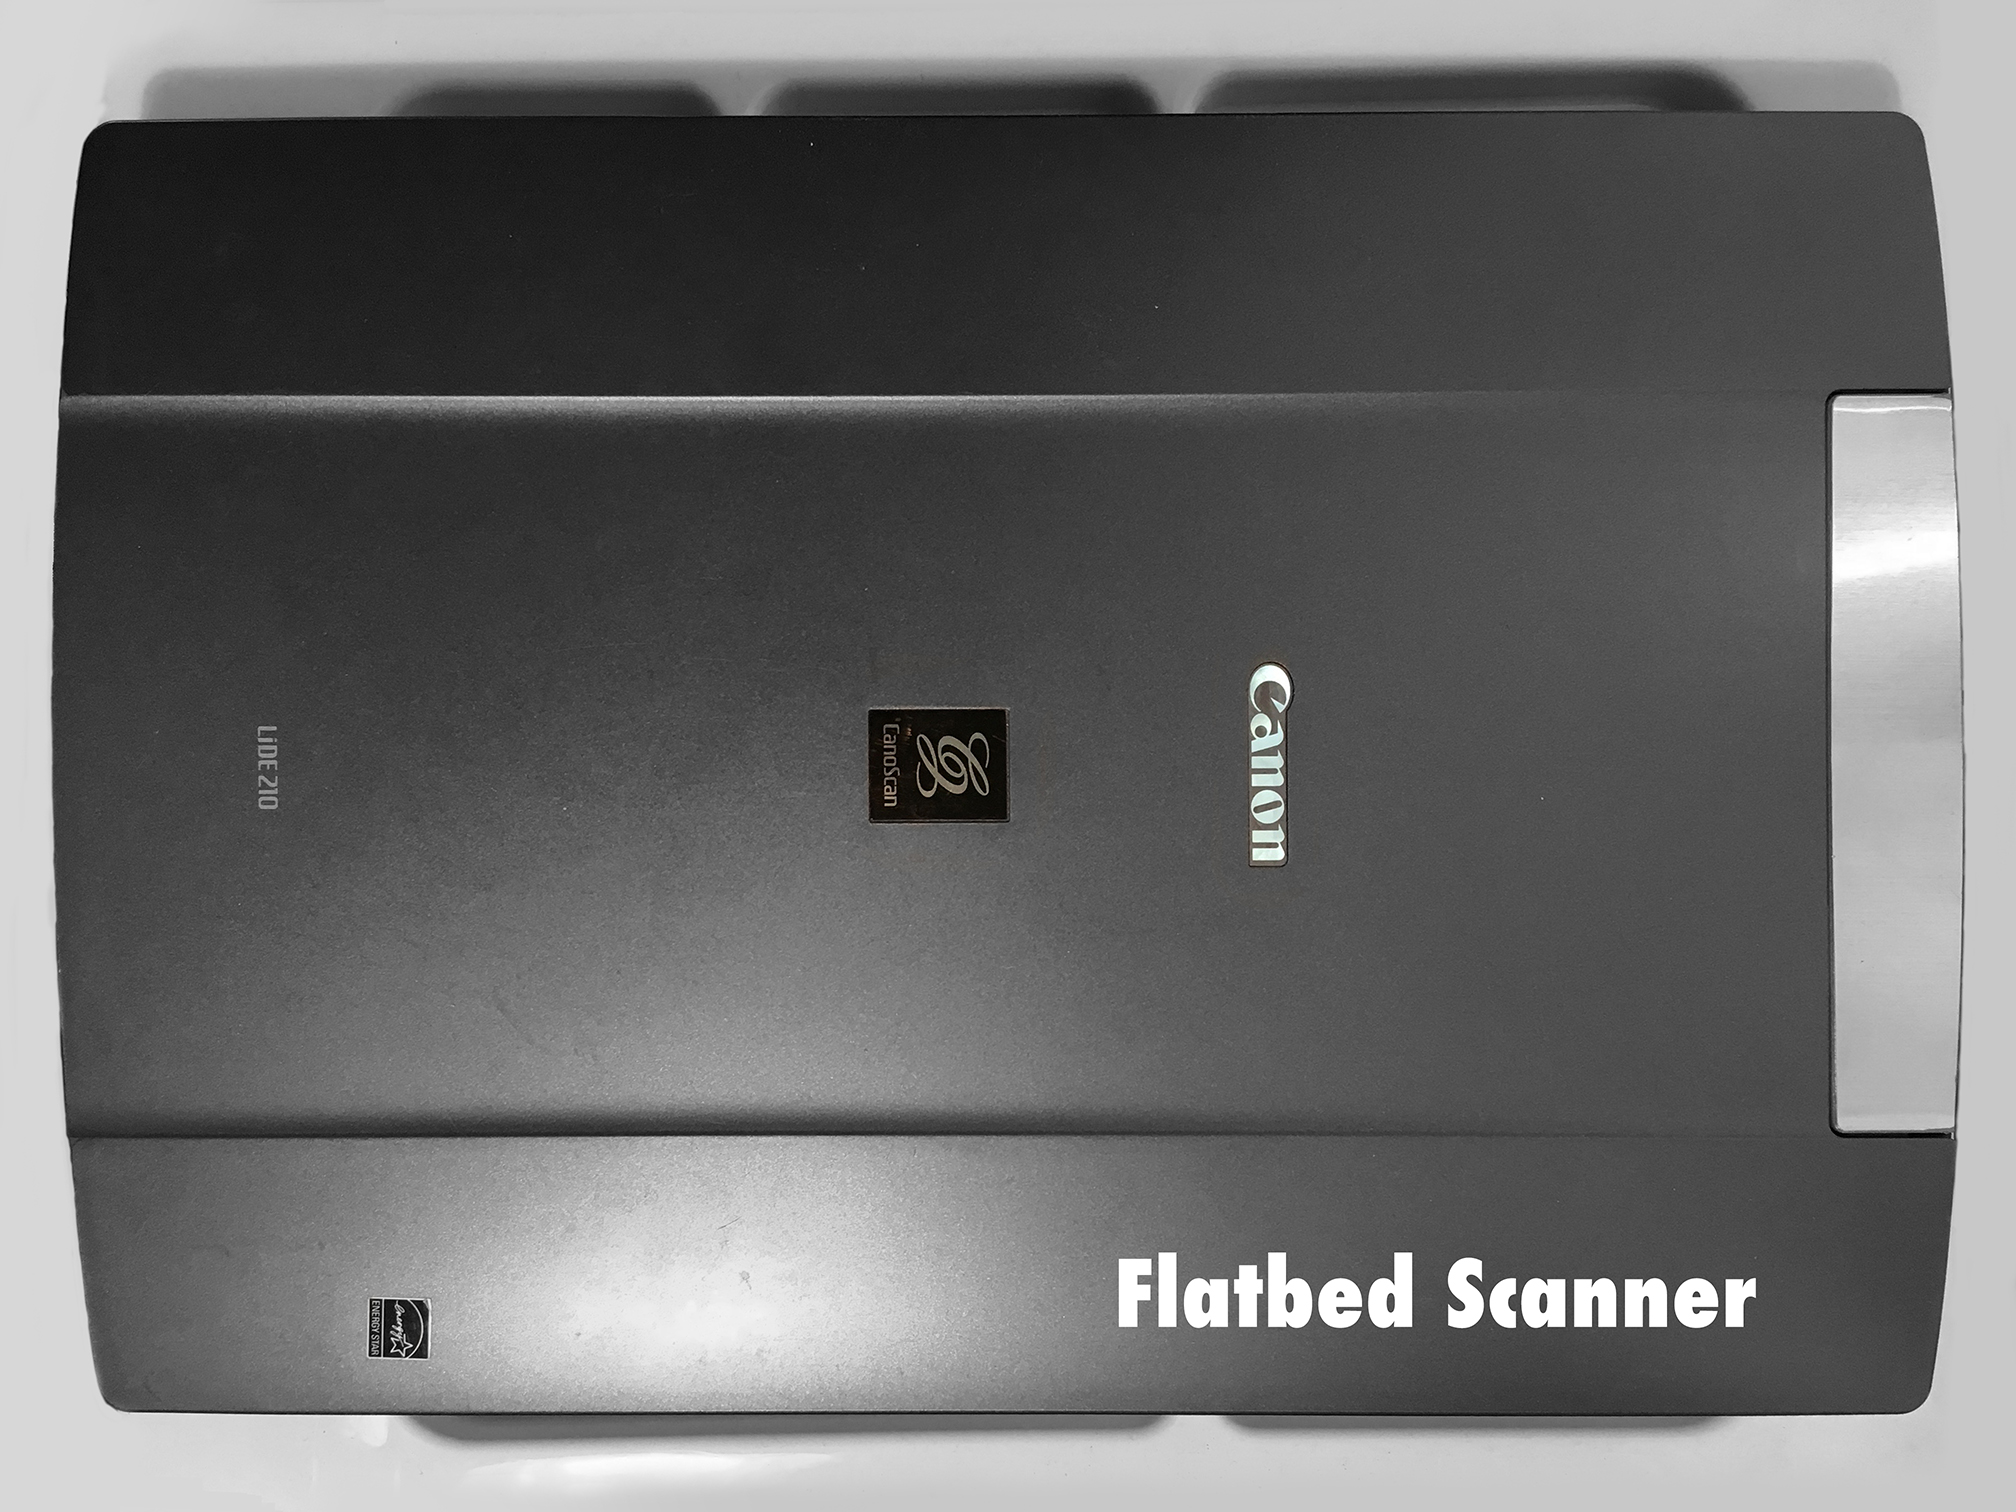
Flatbed scanner (this is the tool used to move your drawing from the tangible world to the digital world on your computer)
Adobe Photoshop (this is my software of choice for digital painting, but know there are other softwares out there that can accomplish the same final results)
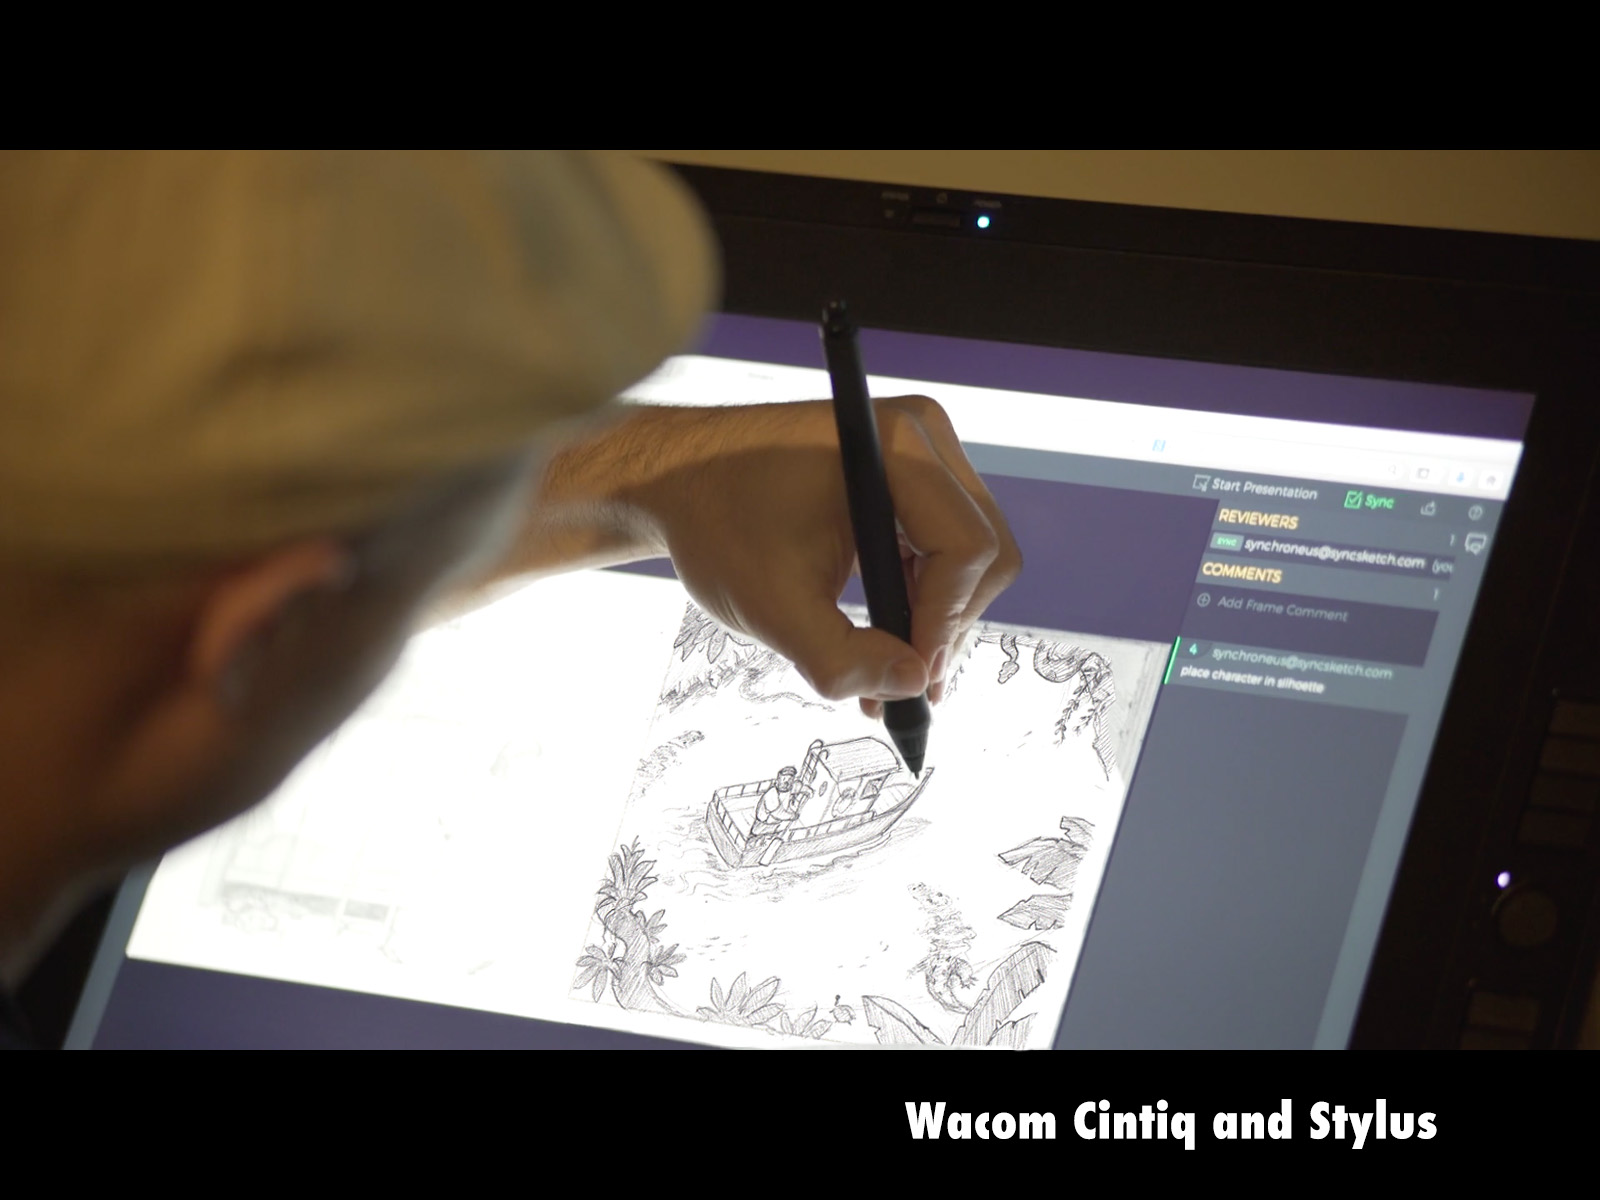
Wacom Cintiq or tablet with stylus (this is the hardware that allows you to draw or paint on the computer)
Lastly, joy and a bit of patience…you really need good doses of both to give yourself the room to find the perfect translation of your idea into a finished illustration.
Step 1: Figuring out your Values

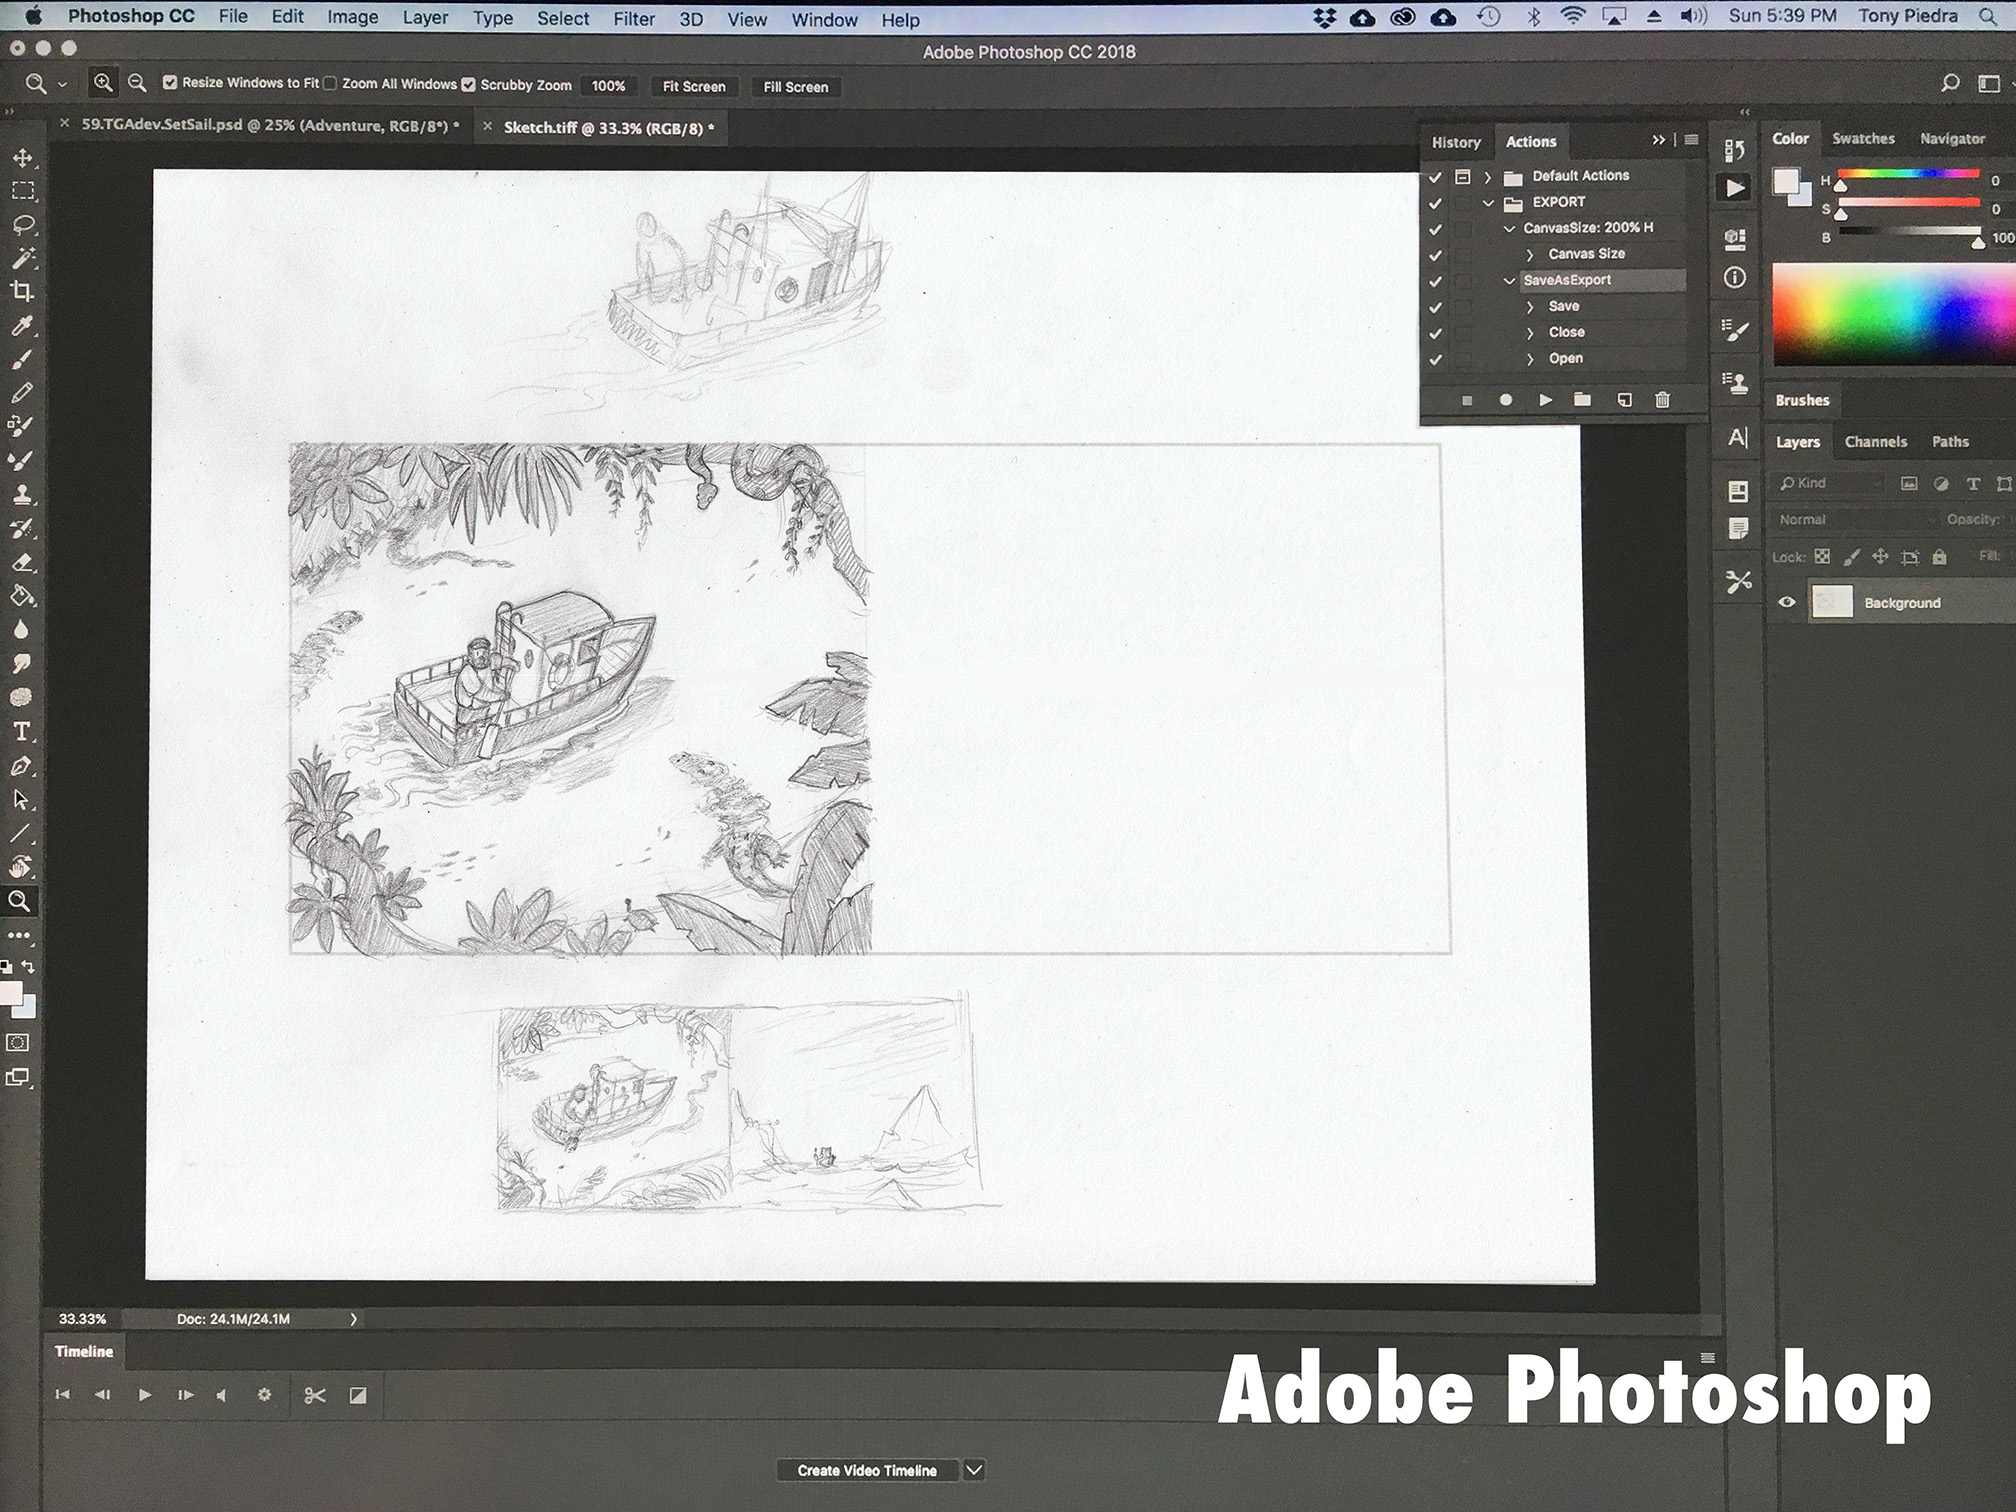
Pencil sketches laid out as a single spread for the final book.
So once I have my drawing scanned and in Photoshop, I can start playing with it. My first step is to figure out the black and white values of my illustration. For those of you unfamiliar with the term, value, it is the lightness or darkness of tones or colors— yes, colors have value, too. White is the lightest value; black is the darkest value.

Now in Photoshop, I add black and white tones or values to the sketches, trying to emphasize the boat as the most important element in the composition.
My goal in this step is to make sure that a person looking at my image knows where to look first. For example, in the two images, above, the boat is meant to be the most important element, and thus, should be the first place a person looks when they view my image. My composition, a term used to describe the arrangement of the visual elements in a painting or other artwork, already supports this, but I want to make sure my values do, too.
Step 2: Research and Color Palette
So once I’m happy with my value structure and my composition (which is determined at the drawing stage), I can now start thinking about the color palette for my final illustration. At this stage I like to do a bit of photo research based on my intuition for color. For me color and light do what music succeeds so well at in film, they tell you how to feel. Sometimes I look for photos of my subject, and other times I look for photos that exhibit a color palette or lighting scheme that captures the specific mood I hope to express in my illustration.
“For me color and light do what music succeeds so well at in film, they tell you how to feel.”
The, above, reference images, are a selection of images I used to establish the look for my illustration, but as all things these images just represent the tip of the iceberg. Do not underestimate the value of this step.
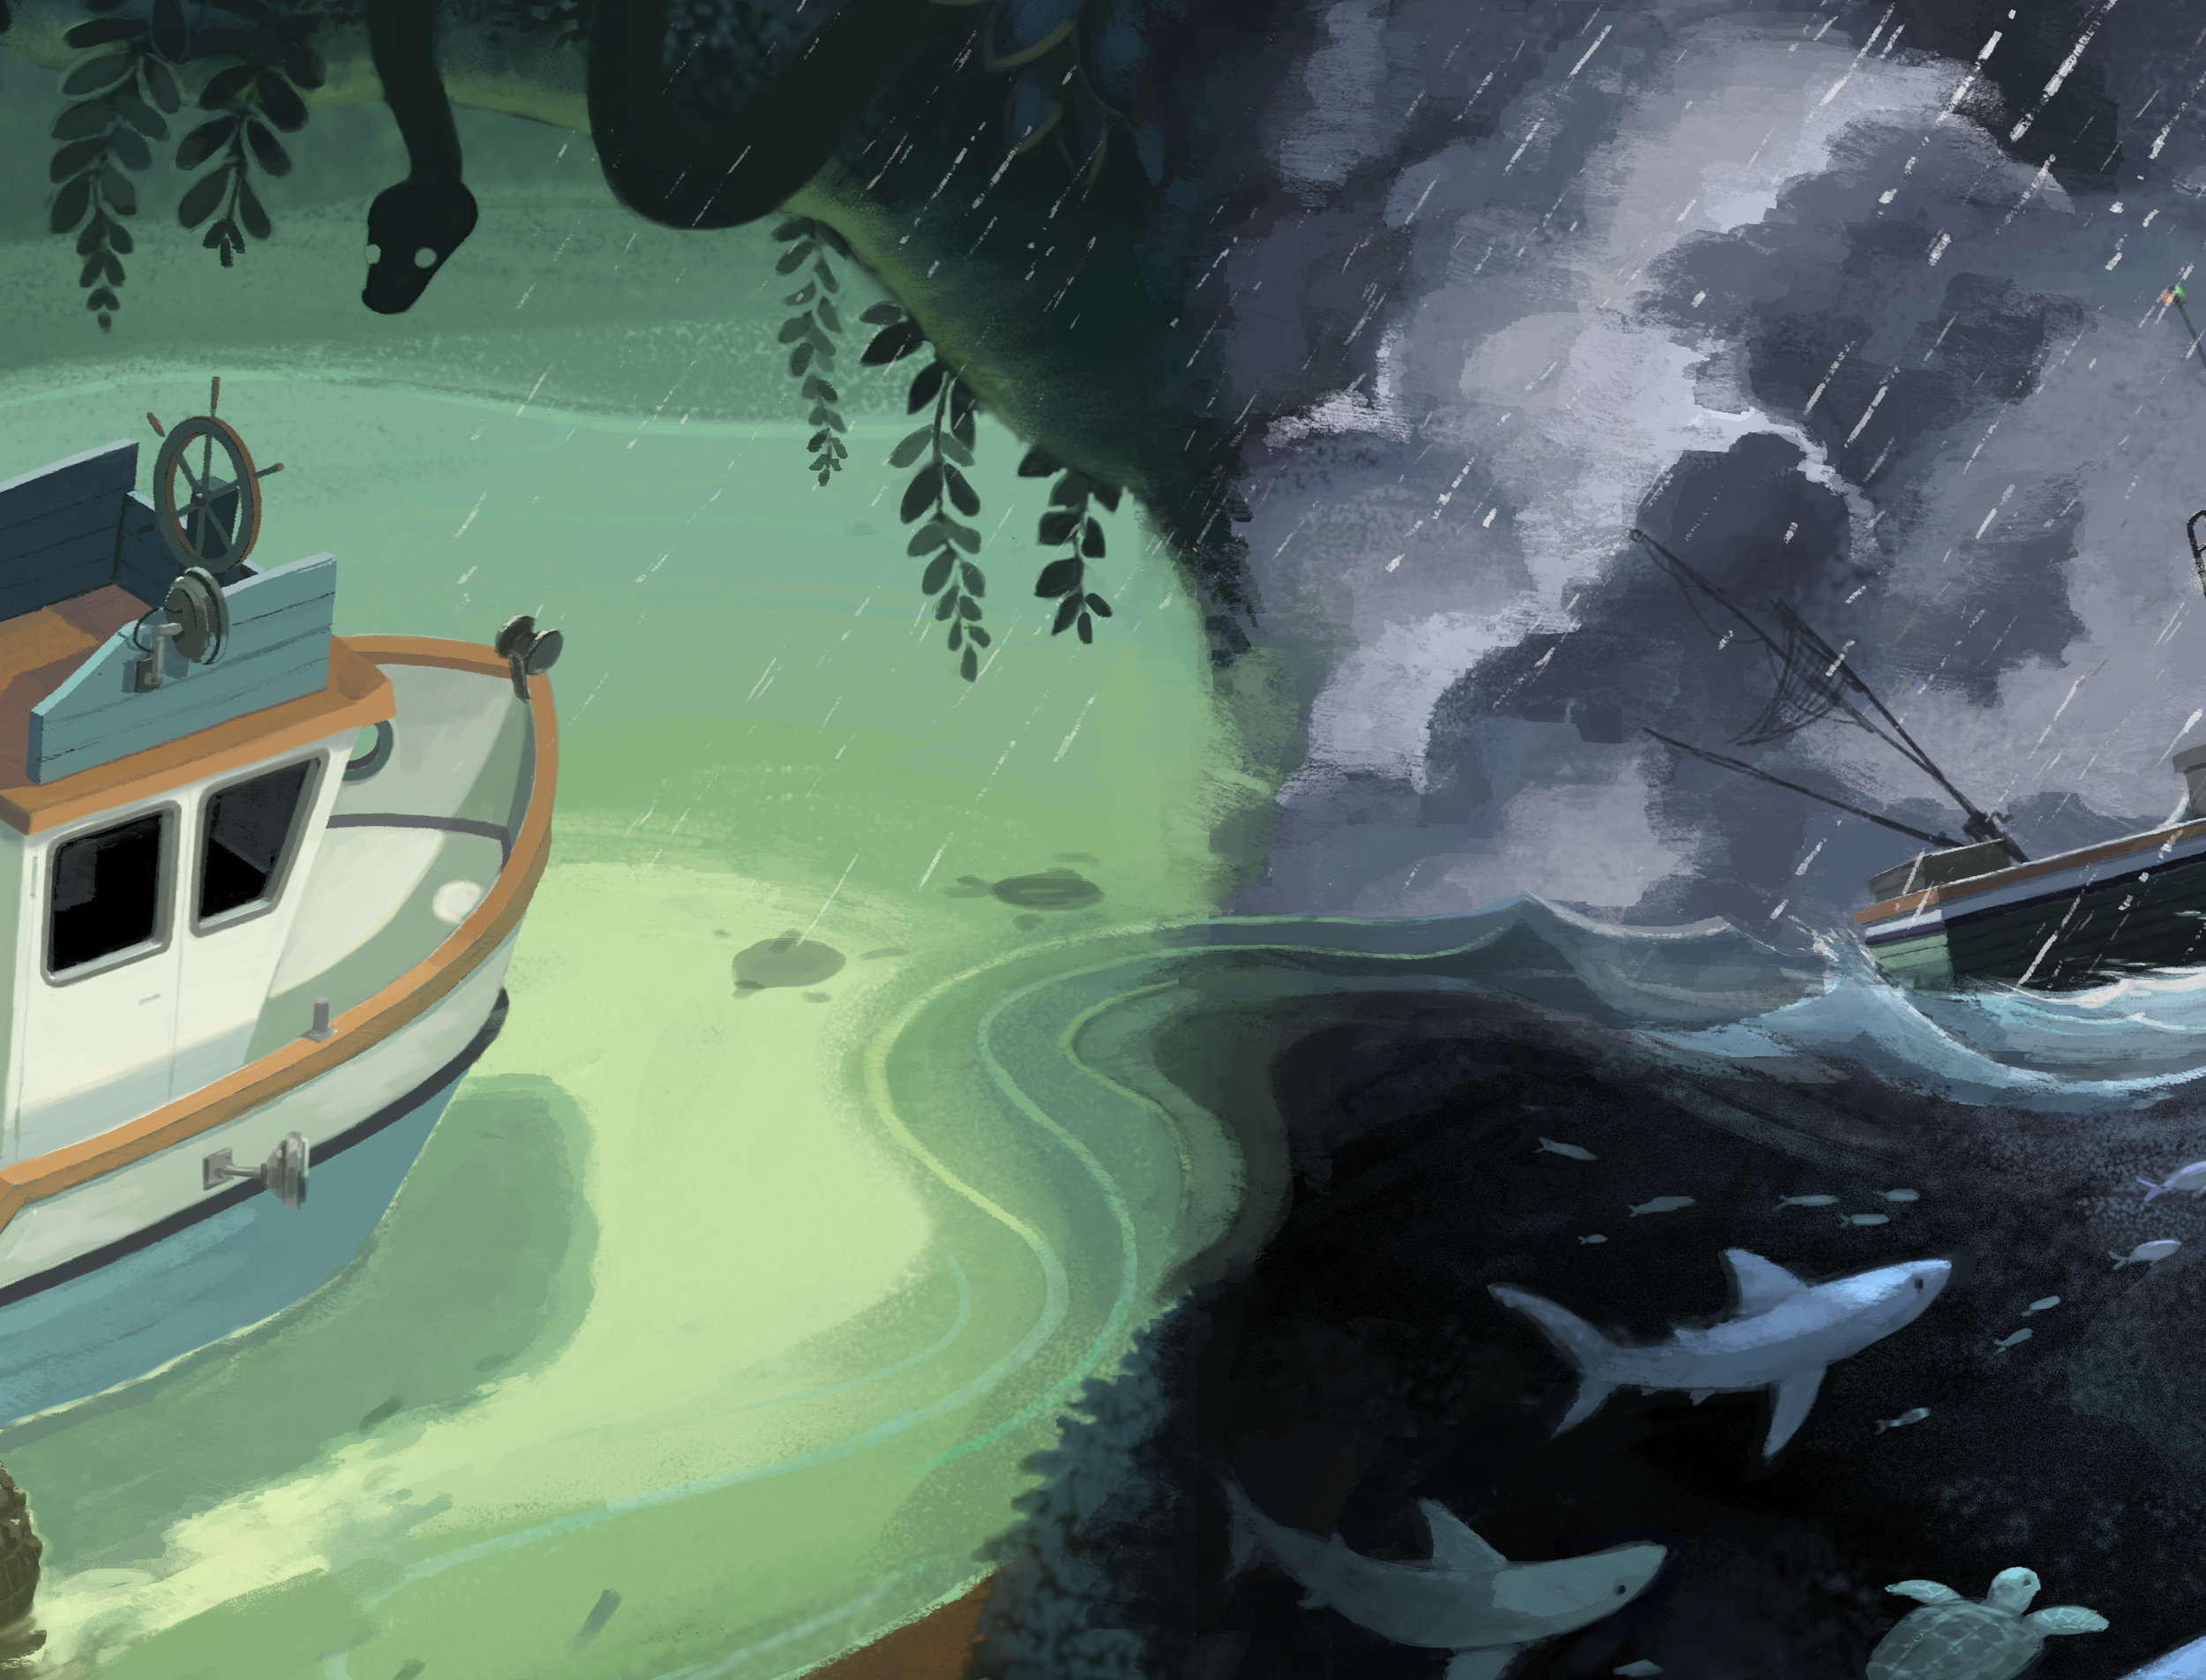
Step 3: Color Studies
This step is where the heavy lifting gets done for the final illustration.
With my reference gathered, I let them settle into my mind like snowflakes in a recently shaken snow globe. I do not need them in front of me. I just want to remember how they made me feel through my memory of their color and light.
My color studies for the final illustration. Notice how these loose digital paintings evoke mood through color and light.
“This step is where the heavy lifting gets done for the final illustration.”
The color studies above are loose and quick. I am not worrying here about fussy detail or creating a finished, polished illustration. All I care about is whether I feel I have captured the specific emotional quality I had imagined for the scene.
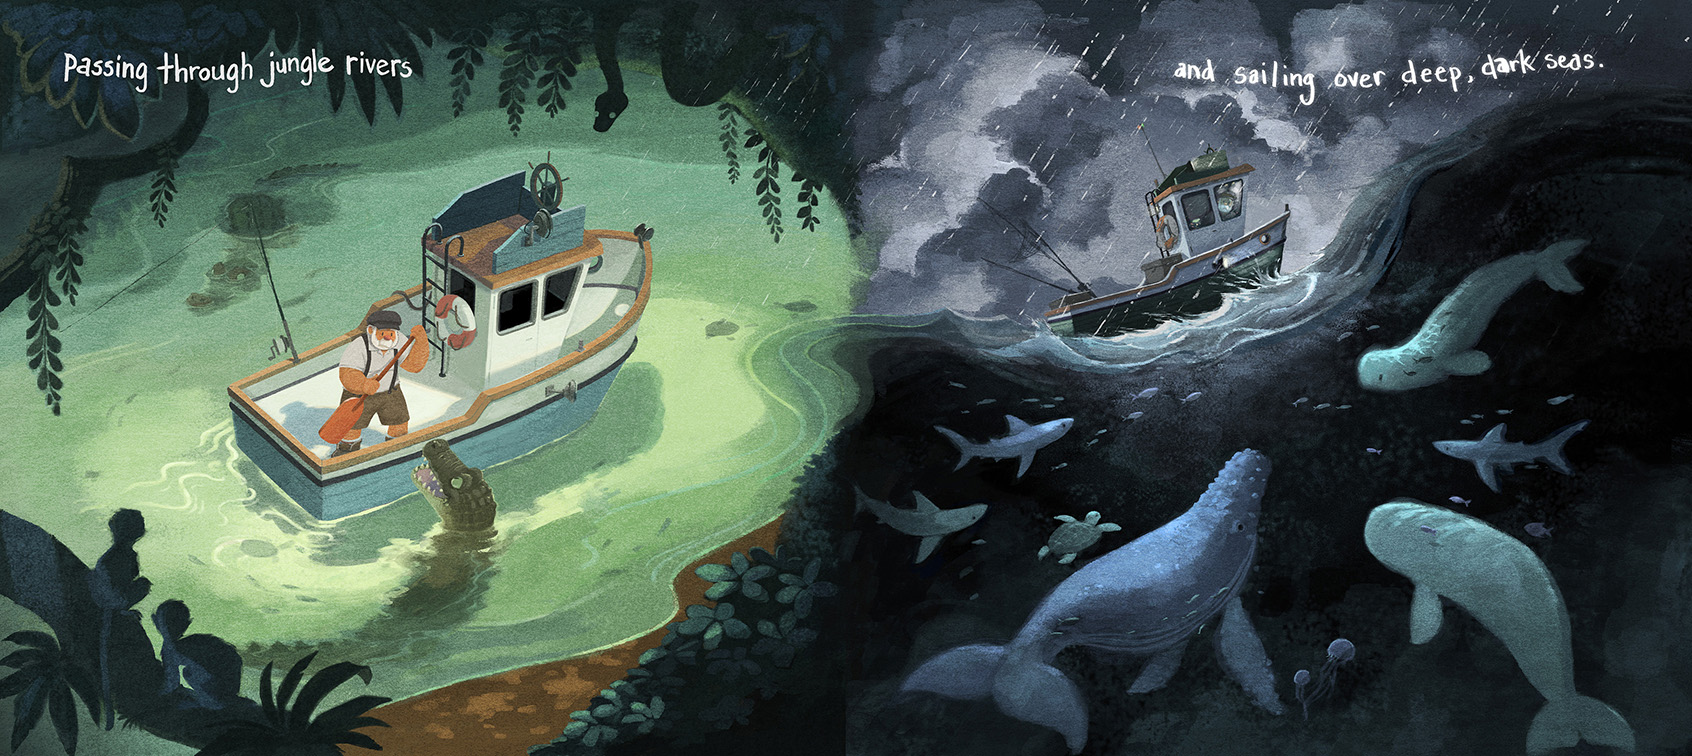
Step 4: Digital Painting with Joy and Patience
Now, even though the bulk of my work is done, this next step requires the most patience. You have to balance retaining the spontaneity and life of the color study, while adding visual detail and nuance that will captivate the scrutinizing eyes of your young audience when your work is finally in print. This is a process that I think simply takes a lot of practice, and can frustrate a more inexperienced artist. There’s no magic solution or process here, just a lot of work infused with joy.
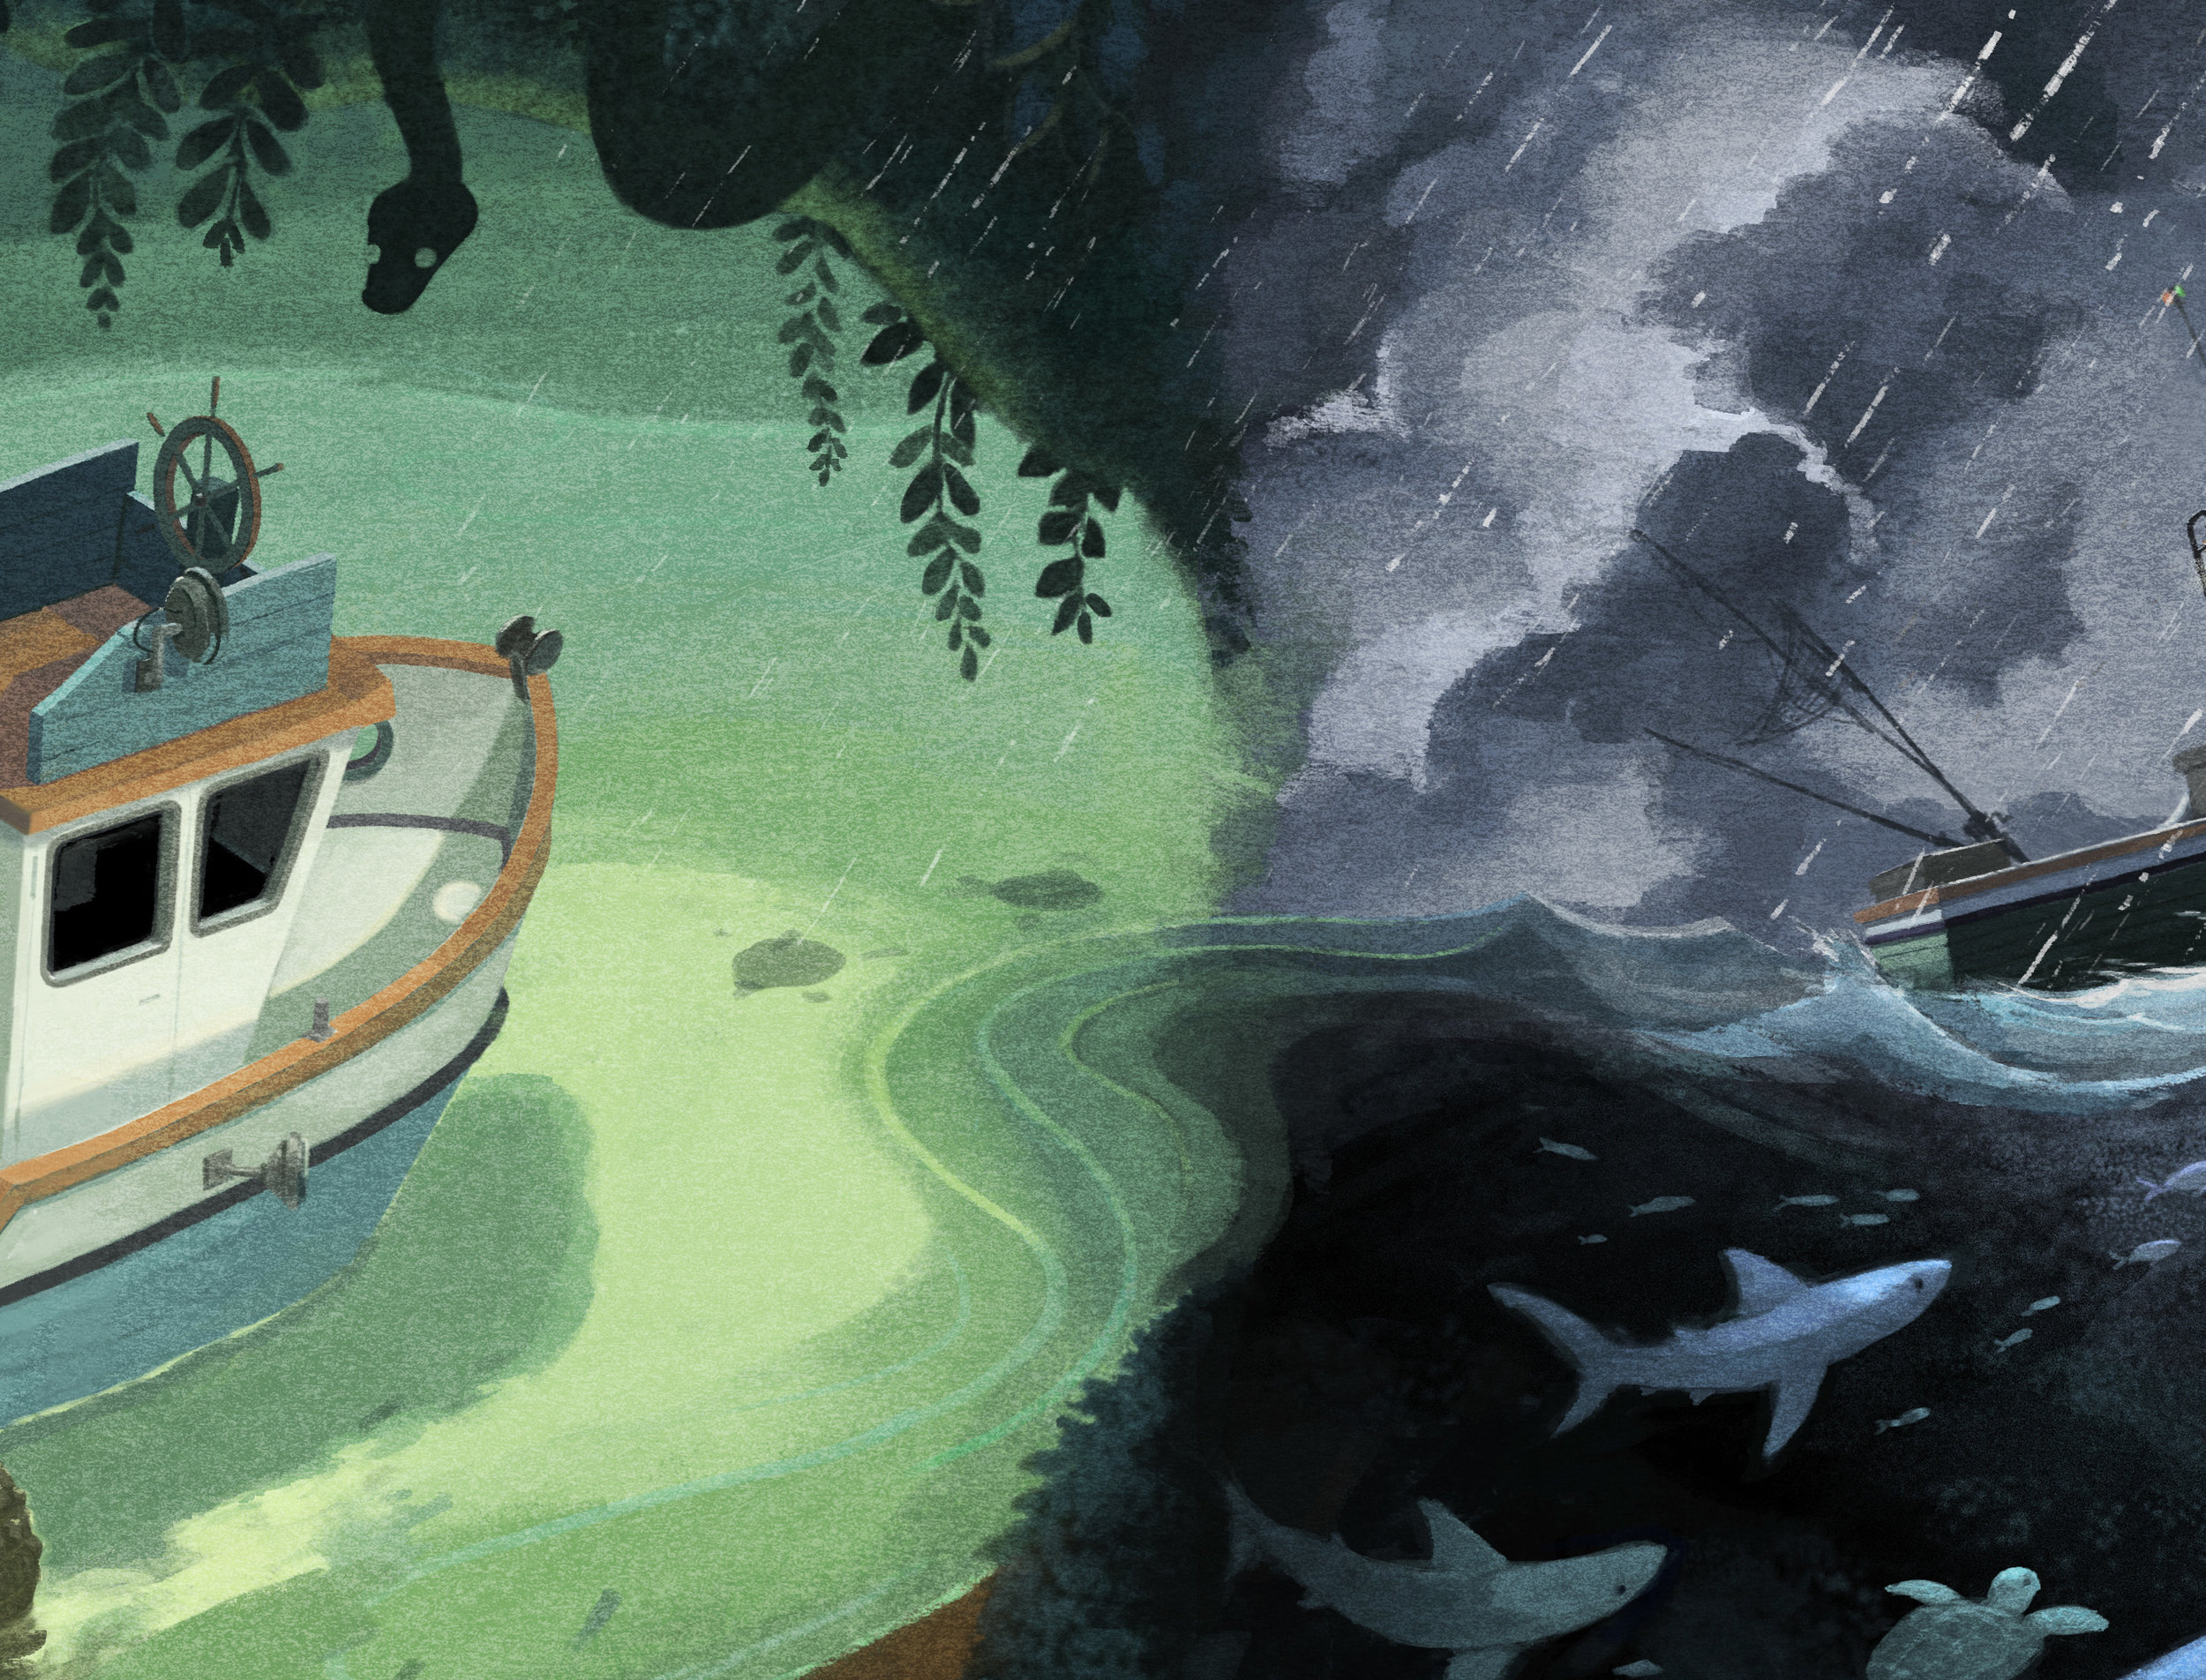
Step 5: Lastly, Adding Texture
Here is a sheet of paper that I have covered evenly with graphite. This texture is then scanned into the computer and used as a layer on top of my illustration to add a visual grain.
This final step of adding texture, represents only a small part of the actual image-making process. But since, the majority of my final image is created digitally, I am always trying to make sure my “hand” does not get lost in the process. With that in mind, I use traditional media textures like the one pictured above, and digital brushes which imitate the strokes of their traditional counterparts to bring a warmth of imperfection to my final illustrations. Below, you can see a closeup of my final illustration with and without texture. The difference is subtle, but I think it helps.
Conclusion:
I hope you enjoyed the post. And for those of you who are following the artist’s path know that you’re not alone.
Resources:
If you’re serious about learning how to paint digitally there are a number of excellent online resources. My personal favorite is a class offered by an online art school, called Schoolism. The course is called Painting with Light and Color with Dice Tsutsumi and Robert Kondo. It is self-paced and created by two of my artistic heroes from Pixar, Robert Kondo and Dice Tsutsumi.
Explore the internet. There’s a lot of information out there on the subject of digital painting. Lastly, don’t fall into the trap of believing you need to know the latest software. Software comes and goes, but fundamental drawing, painting, and design-thinking skills are what define the success of an artist.